
Tired of Flatbread? Unleash Your Inner Sourdough Whisperer!
Let's be honest, the idea of making sourdough can be intimidating. Visions of endless kneading and a fussy starter often scare people away. But what if I told you there's a simpler way? A way to cultivate a bubbly, active sourdough starter without the back-breaking work? That’s right, we’re talking about the no-knead approach, and it's a game-changer!
I remember my first attempt. I followed a recipe that involved daily kneading, and let's just say my arms felt like they'd run a marathon. The result? A slightly dense, underwhelming loaf. Then, I discovered the no-knead method, and suddenly, the world of sourdough opened up. My starter thrived, my bread was fluffy and delicious, and I actually enjoyed the process. This guide is your roadmap to that same success.
The No-Knead Starter: Your First Steps
The beauty of a no-knead starter lies in its simplicity. It’s about nurturing a colony of wild yeasts and beneficial bacteria that will transform your flour and water into something magical. Here's what you'll need:
- Flour: Unbleached all-purpose flour is a great starting point. You can also experiment with whole wheat or rye flour for added flavor and nutrients. I personally like to use a mix of all-purpose and a small percentage of whole wheat.
- Water: Non-chlorinated water is key. Tap water can kill the yeast. Filtered water, bottled water, or even water that has been left out for 24 hours to let the chlorine evaporate is ideal.
- A clean jar: A glass jar with a lid is perfect. A wide-mouth jar makes it easier to add and remove flour and water.
- Patience: This is the most important ingredient!
Phase 1: The First Week - Building Your Starter's Foundation
This initial phase is all about creating the right environment for your wild yeasts to flourish. It's like building a tiny ecosystem!
- Day 1: The Initial Mix. In your clean jar, combine 50 grams of flour and 50 grams of water. Stir until it forms a thick paste. It's okay if it's a little lumpy. Cover loosely with the lid – you want air to circulate, but you also want to prevent things from drying out.
- Days 2-7: The Feeding Frenzy. This is where the magic happens! Every 24 hours, discard about half of the starter (you can toss it or, if you're feeling adventurous, try a pancake recipe that uses unfed starter - more on that later!), and add 50 grams of flour and 50 grams of water. Stir well.
- What to Look For: Over the first few days, you might not see much activity. That's normal! But by day 3 or 4, you should start to see some bubbles. It might smell slightly sour or yeasty. Don't worry; this is a good sign.
- Temperature Matters: The warmer the environment, the faster your starter will develop. A temperature around 70-75°F (21-24°C) is ideal. Cooler temperatures will slow things down, but it will still work!
Anecdote: I once started a starter in the dead of winter in a drafty kitchen. It took almost two weeks to show significant activity! I was starting to lose hope, but I kept feeding it, and eventually, it came to life. Patience truly is a virtue!
Phase 2: Maintaining and Monitoring Your Starter
After about a week, your starter should be showing signs of activity – bubbles, a slightly sour smell, and maybe even a bit of a rise. This means it’s ready to be maintained! This is where you refine your feeding schedule and learn to read your starter.
- The Feeding Routine: Feed your starter once a day. The frequency depends on the temperature of your kitchen and how active your starter is. In a warmer kitchen, you might need to feed it twice a day. In a cooler kitchen, once a day is usually fine.
- The Float Test: This is a simple test to see if your starter is ready to bake with. Take a teaspoon of your starter and drop it in a glass of water. If it floats, it's ready! If it sinks, it needs more time.
- Reading Your Starter: Observe your starter closely. Does it double in size after feeding? Does it have large bubbles throughout? Does it smell pleasantly sour, not rotten or moldy? These are all good signs.
- Troubleshooting:
- No Activity: If your starter isn't showing any activity after a week, make sure your water is non-chlorinated. Try a different type of flour, and make sure you're keeping it in a warm environment.
- Weird Smells: A strong smell of acetone or nail polish remover indicates your starter might be hungry. Feed it more frequently. If it smells moldy, discard it and start over.
- Liquid on Top (Hooch): This is a sign that your starter is hungry. Stir the liquid back in, or pour it off if you prefer, and feed your starter.
Phase 3: Baking with Your Starter
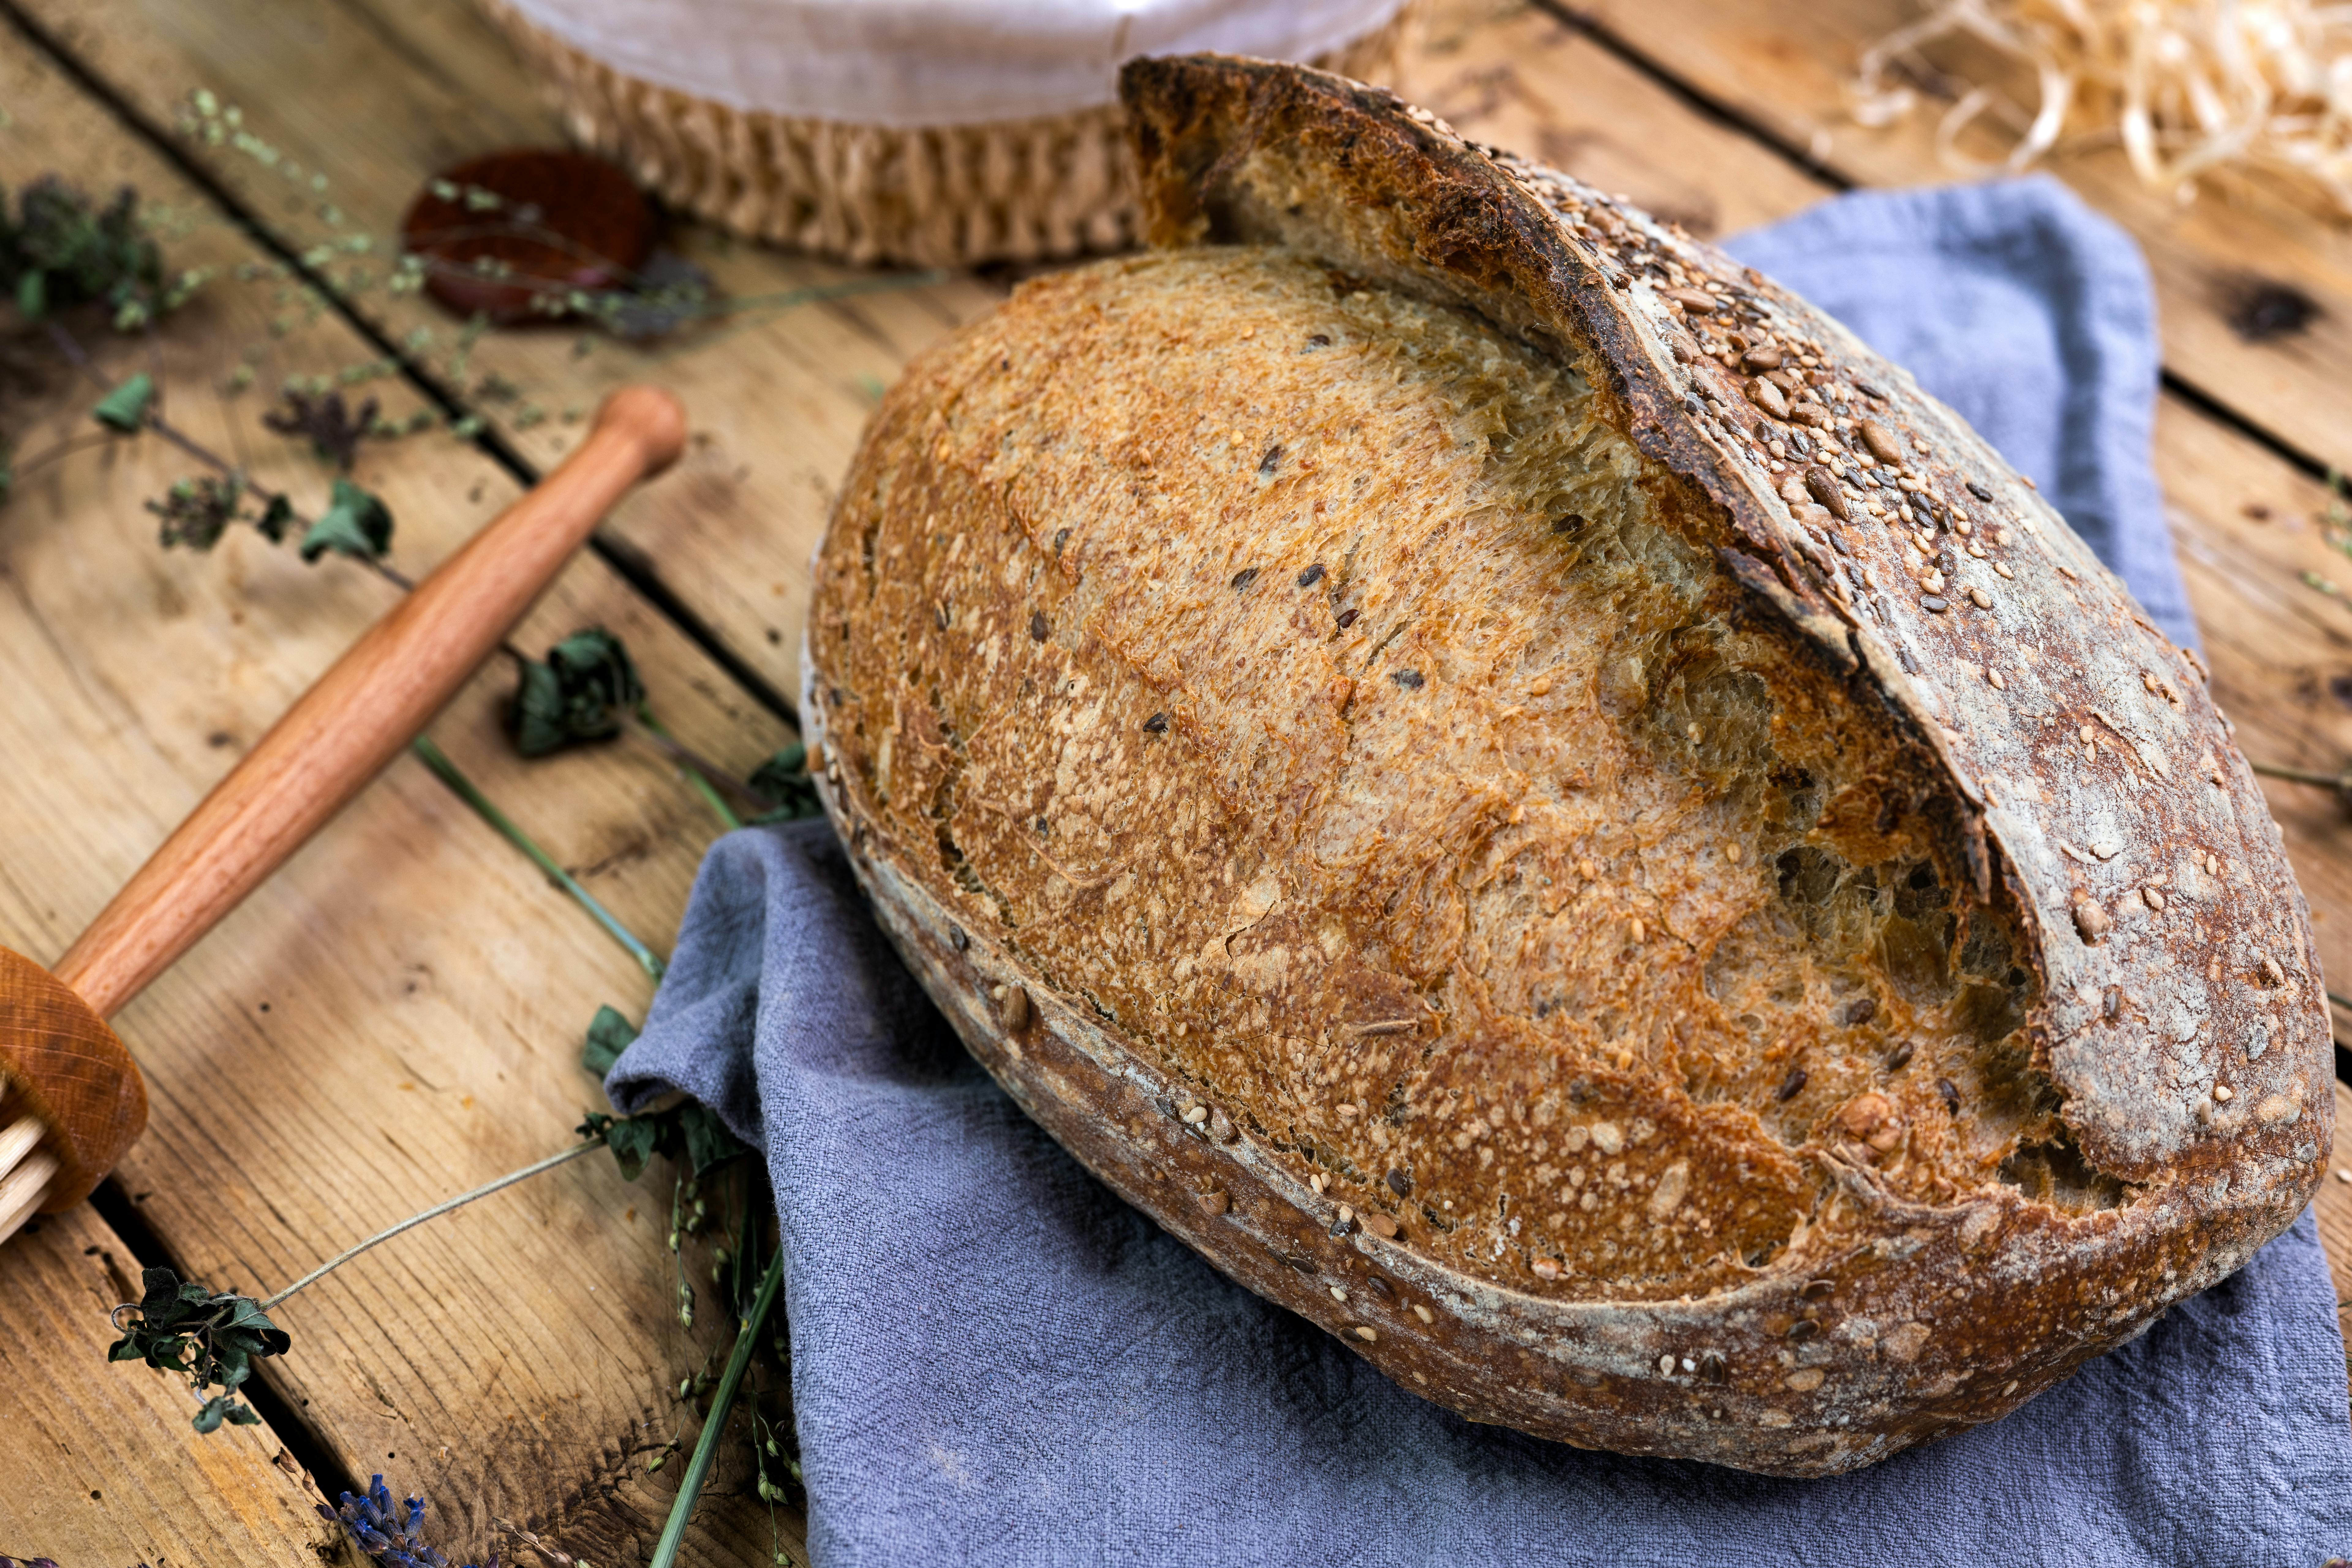
Once your starter is reliably doubling in size after feeding and passes the float test, it's ready to bake with! You can use your starter to make a variety of delicious sourdough goods, from bread to pancakes to pizza dough.
Case Study: I recently made a sourdough pizza using a no-knead dough recipe. The crust was crispy on the outside, chewy on the inside, and had that signature sourdough tang. It was a huge success!
Here are some tips for baking:
- Use Active Starter: The starter you use in your recipe should be at its peak activity. This is usually a few hours after feeding, when it has doubled in size and is full of bubbles.
- Follow a Recipe: Start with a reliable sourdough recipe. There are tons of great recipes online.
- Be Patient: Sourdough baking takes time. The bulk fermentation (the first rise) and proofing (the second rise) can take several hours.
- Experiment: Once you're comfortable with the basics, start experimenting with different flours, hydration levels, and baking times.
Actionable Takeaways: Your Sourdough Starter Checklist
Ready to get started? Here’s a quick recap of the key steps:
- Gather Your Supplies: Flour, water, a jar, and patience.
- Day 1: Mix equal parts flour and water.
- Days 2-7: Feed your starter daily, discarding half.
- Monitor: Watch for bubbles, smell, and a rise.
- Feed Regularly: Maintain your starter with regular feedings.
- Float Test: Check for readiness.
- Bake: Start baking with your active starter!
Becoming a sourdough whisperer is a journey, not a destination. There will be ups and downs, but the rewards – the delicious bread, the satisfaction of creating something from scratch, and the joy of sharing it with others – are well worth the effort. So, embrace the process, be patient, and get ready to enjoy the magic of sourdough!
This post was published as part of my automated content series.

Comments